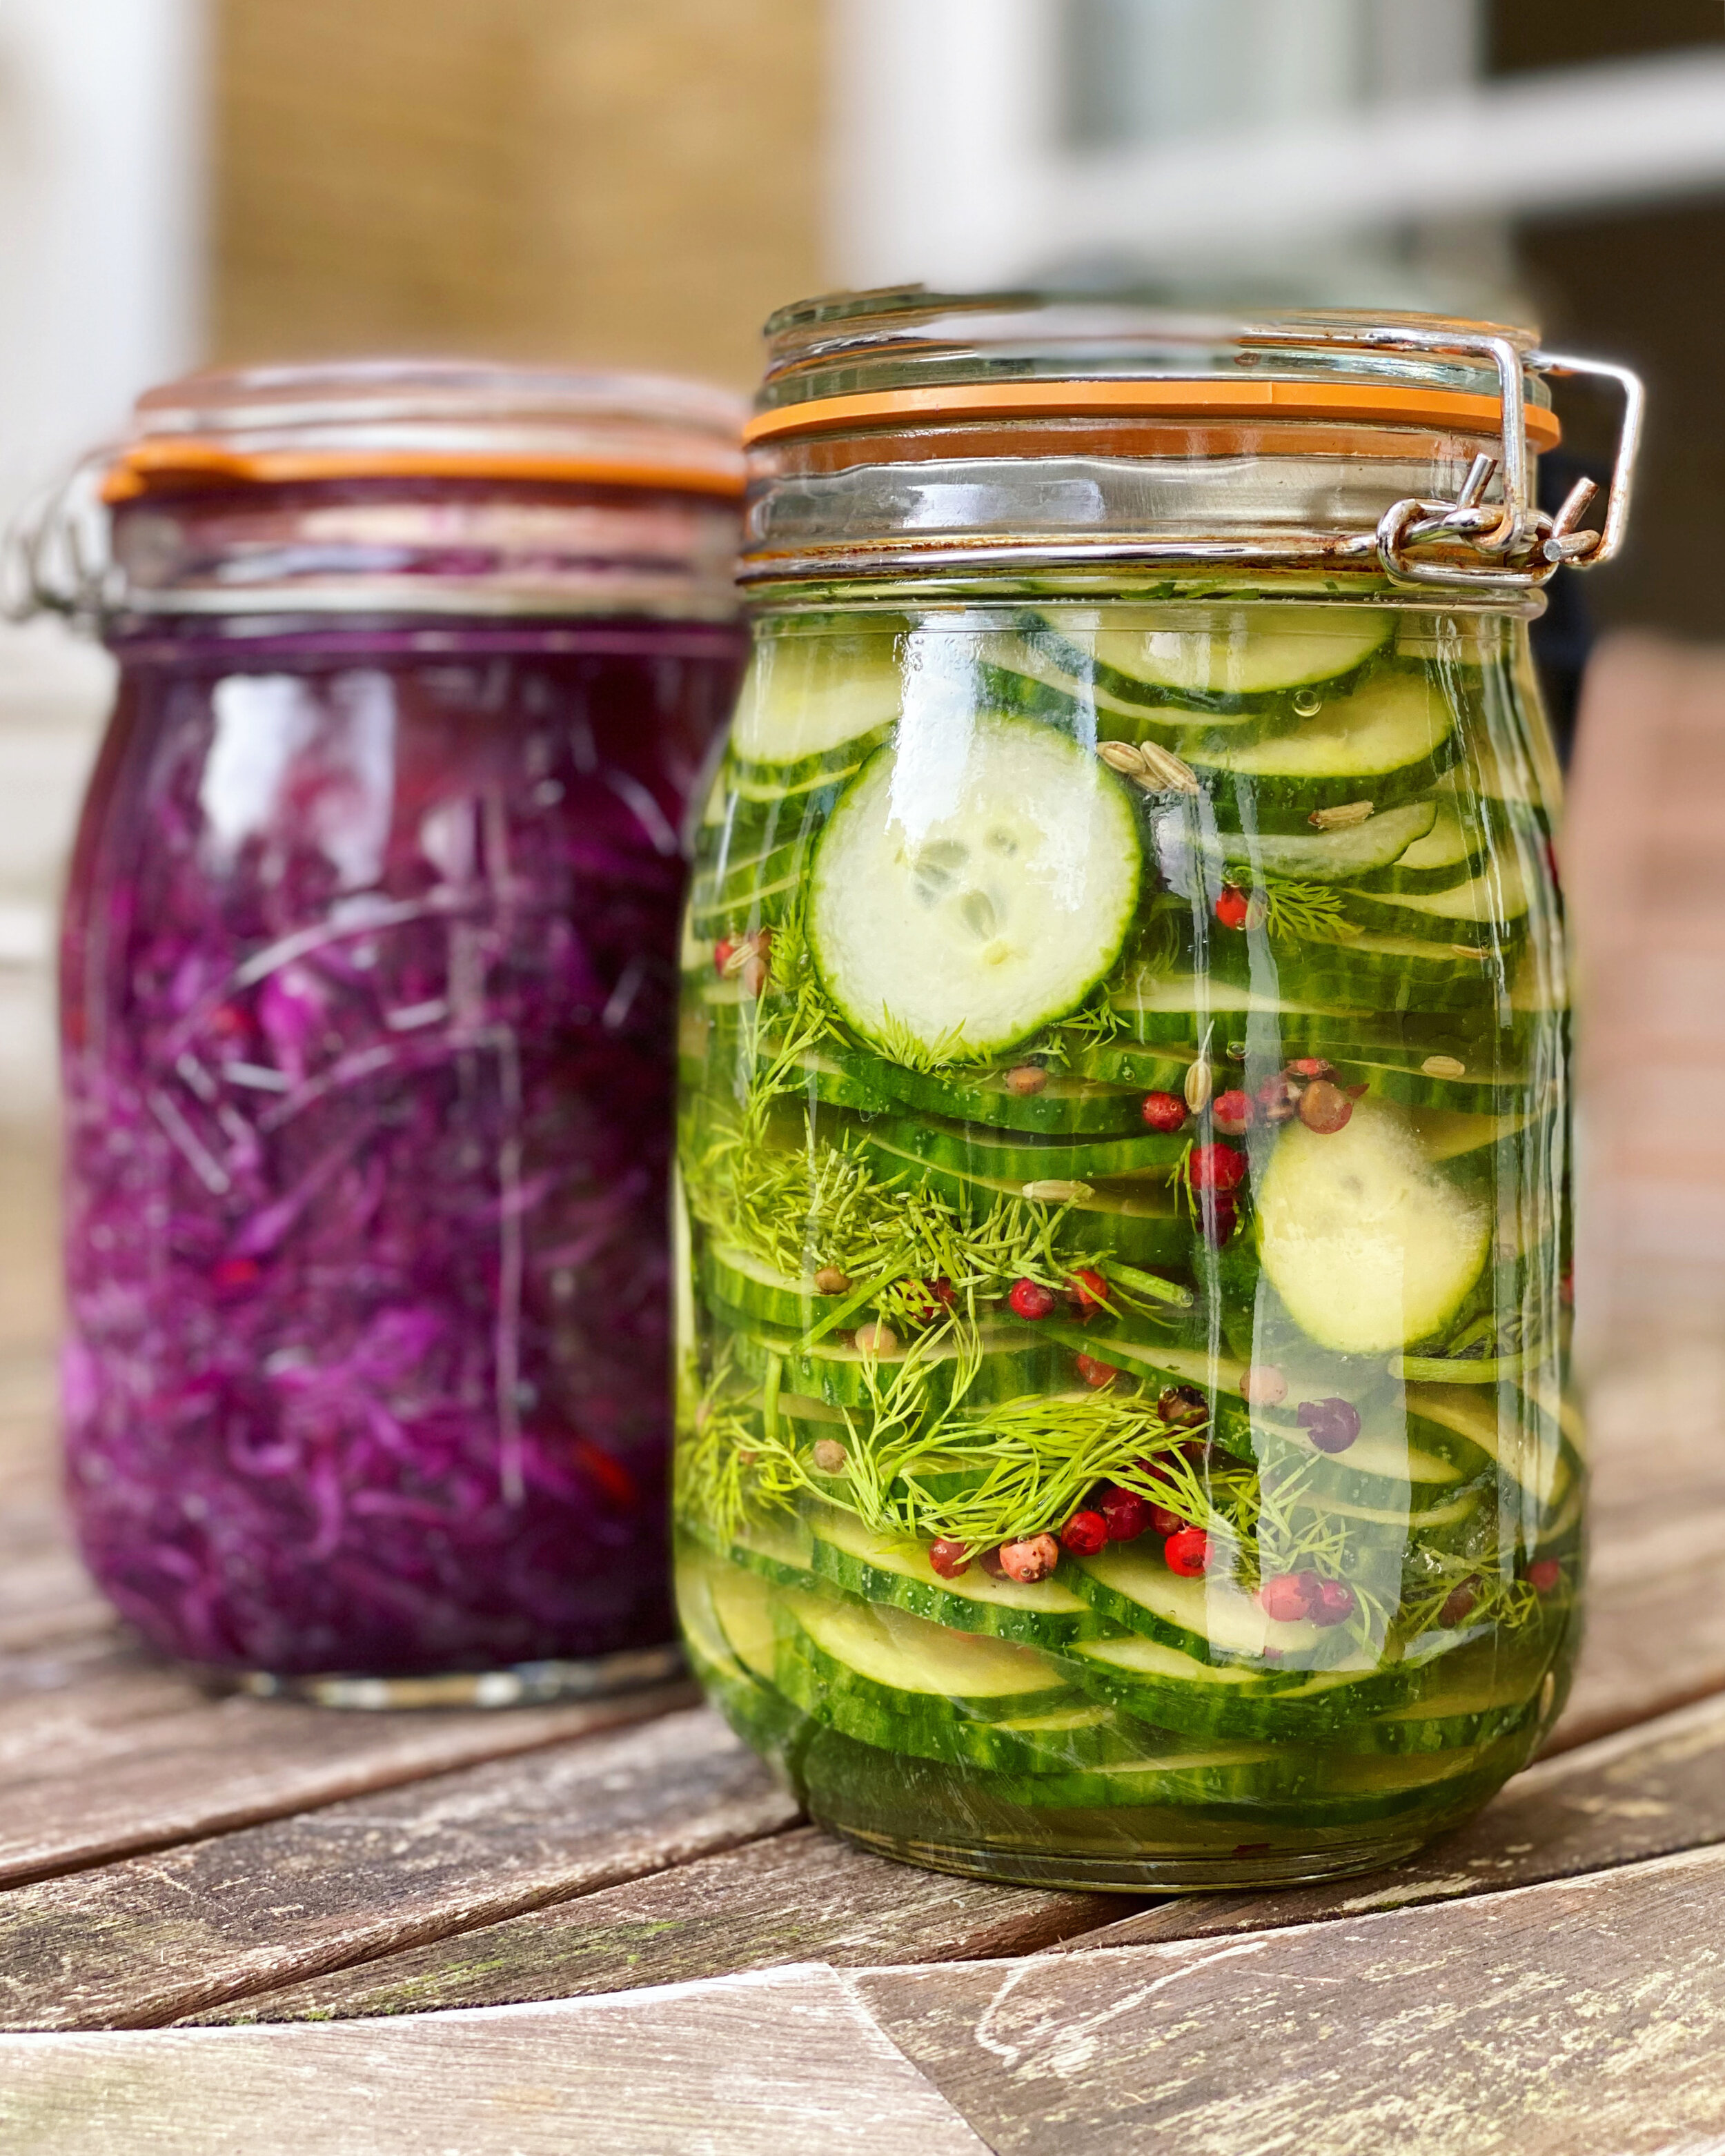
Fermented Dill Pickles
Dill pickles are what many of use will know of as gherkins - those crunchy, tangy pickles that are so good in sandwiches..! Gherkins preserved in vinegar have a really strong acidity, whereas these pickles have a more subtle, naturally complex tang. This intriguing and palatable tang is the lactic acid bacteria that builds up during the process of fermentation. Just as sauerkraut is a great example of the dry method of fermentation, this recipe is a great example of the brine method of fermentation, and a brilliant place to start if you’re new to fermenting at home.
This fermentation recipe is the quickest and easiest we know, and you can enjoy the tasty results of your efforts in a week of less. Fermented foods are teeming with beneficial live bacteria and including a little in your daily or weekly diet is a great boost for ones gut health, similar to enjoying a little live yogurt of kefir each day.
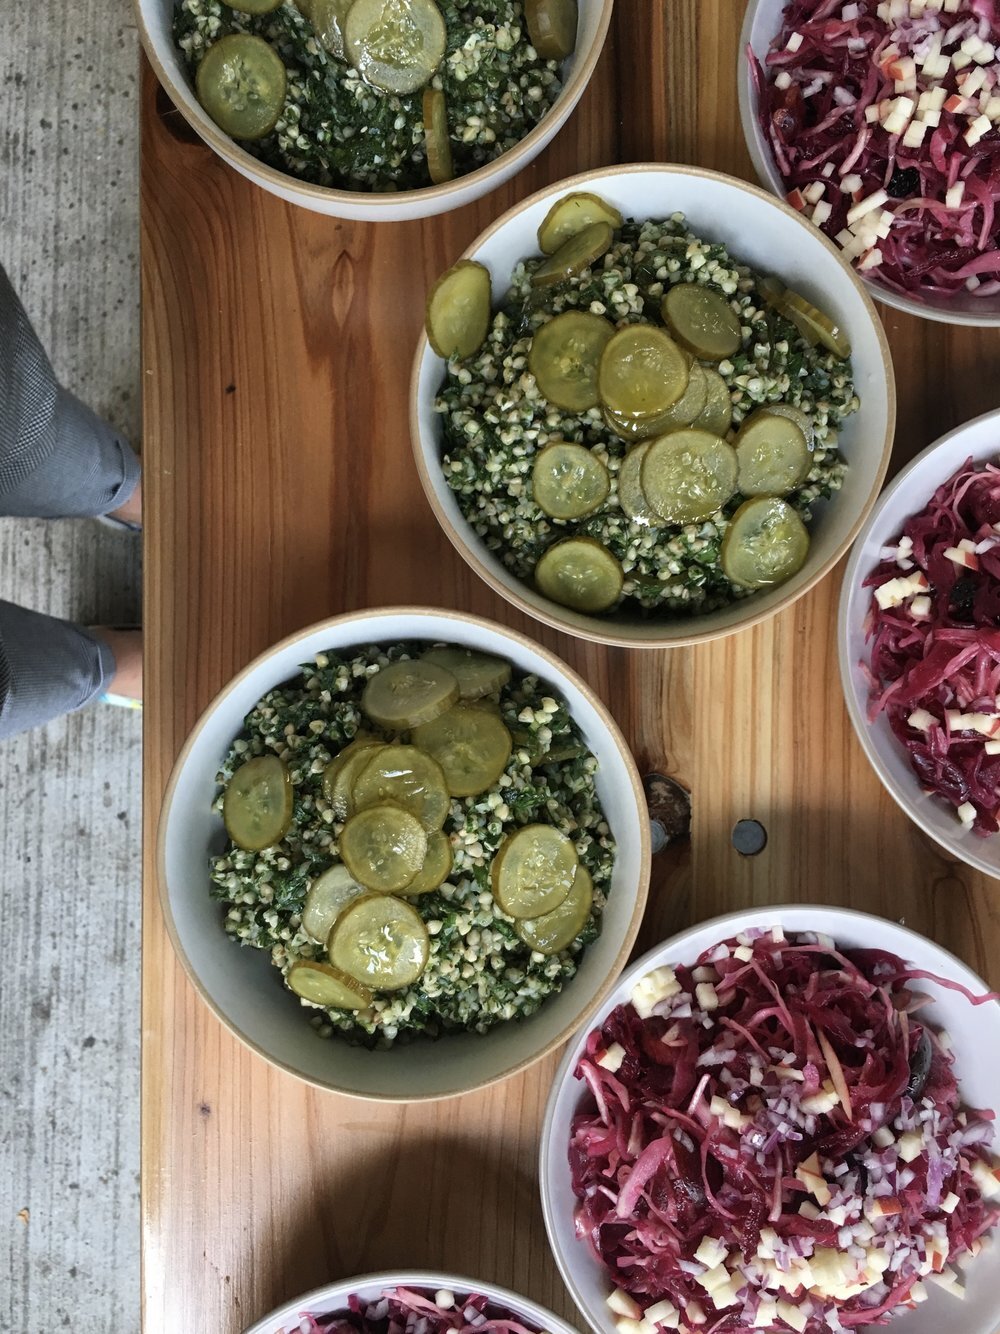
How to use these dill pickles? In deep filled sandwiches and burgers is the most obvious answer! Their sour tang is essential in this context. But we love them at any ‘empty-the-fridge’ lunch… with breads, olive oil, cheeses and simple salads. Let us know how you use yours.
Recipe for 1 litre Kilner jar.
Ingredients:
2 large cucumbers or 12 baby cucumbers
1 litre water
35-40 g flaky sea salt
1 tablespoon fennel seeds
1 tablespoon pink peppercorns
1 clove garlic, peeled and sliced
large bunch dill
Method:
Work cleanly. Sterilise your Kilner jar : preheat the oven to 140 degrees, then wash and rinse your jar. Remove the rubber seal, then pop the open jar in the oven for 10 minutes to dry out. Wash your hands, chopping board and knife well too.
Make your brine. For this method we use a salt solution of 3.5-4%, so for 1 litre of water here, that’s 35-40 g of sea salt. Different salts vary hugely in terms of ‘saltiness’ - we find pink Himalayan salt too salty, and prefer a flaky sea salt such as Maldon. Tip the salt into a small saucepan along with 1 cup of the water. Add the fennel seeds, pink peppercorns and sliced garlic. Warm this on a medium heat, stirring often, until the salt has fully dissolved, and then mix this back into the remaining water.
Prep the cucumbers: rinse the cucumbers well, and slice into 4 mm thick rounds.
Pack the jar: pack the cucumber slices into the jar, adding whole strands of dill as you go. Once the brine has cooled to room temperature pour this into the jar, just until it covers the cucumbers.
Submerged your cucumbers: if using a fermentation set pop the croc weights into the jar to neatly cover the top of the cucumbers. If you are using a regular 1 litre jar try using a sterilised jam jar lid which fits within the neck of your jar and lightly sits on the surface of the cucumbers. See what we mean here on YouTube! Either way, an anaerobic environment is key for the healthy growth of lactic acid bacteria.
Allow your pickles to ferment: pop on the lid and stand the jar in a bowl to catch any over-spill, then leave the jar somewhere peaceful for 4-7 days out of direct sunlight and away from central heating. Cucumbers are much softer than cabbage, hence the shorter fermentation time to our Sauerkraut. As with kraut it’s key to ‘burp’ your jar each day to allow the CO2 to escape.
Taste then refrigerate: you’ll notice that your pickles become softer and more acidic each day. After 4-7 days they should be tasting tangy and delicious. When you’re happy with their texture and flavour pop them in the fridge where they will last for up to 2 months, just be sure to use a clean spoon each time.